DIY Soil Conditioning for Virginia Clay: Organic Additives That Work for Cannabis
If you’ve ever dug your hands into Virginia’s infamous red clay, you know it’s not exactly grow-ready. Thick, heavy, and nutrient-stingy, this soil can pose a major challenge for home cannabis cultivators. But don’t hang up your grow gloves just yet - Virginia clay can be transformed into a thriving base for healthy, high-yield cannabis. All it takes is the right mix of organic additives and a little patience.
Here’s how to work with what you’ve got - naturally.
Understanding the Problem: Why Virginia Clay Fails Cannabis
Red clay in Virginia is made up of tiny, compacted particles that:- Drain poorly, leading to root rot
- Lack oxygen, suffocating roots
- Compact easily, limiting root expansion
- Are often acidic and nutrient-poor
Step 1: Break Up the Clay with Aerators
Key Organic Aerators:
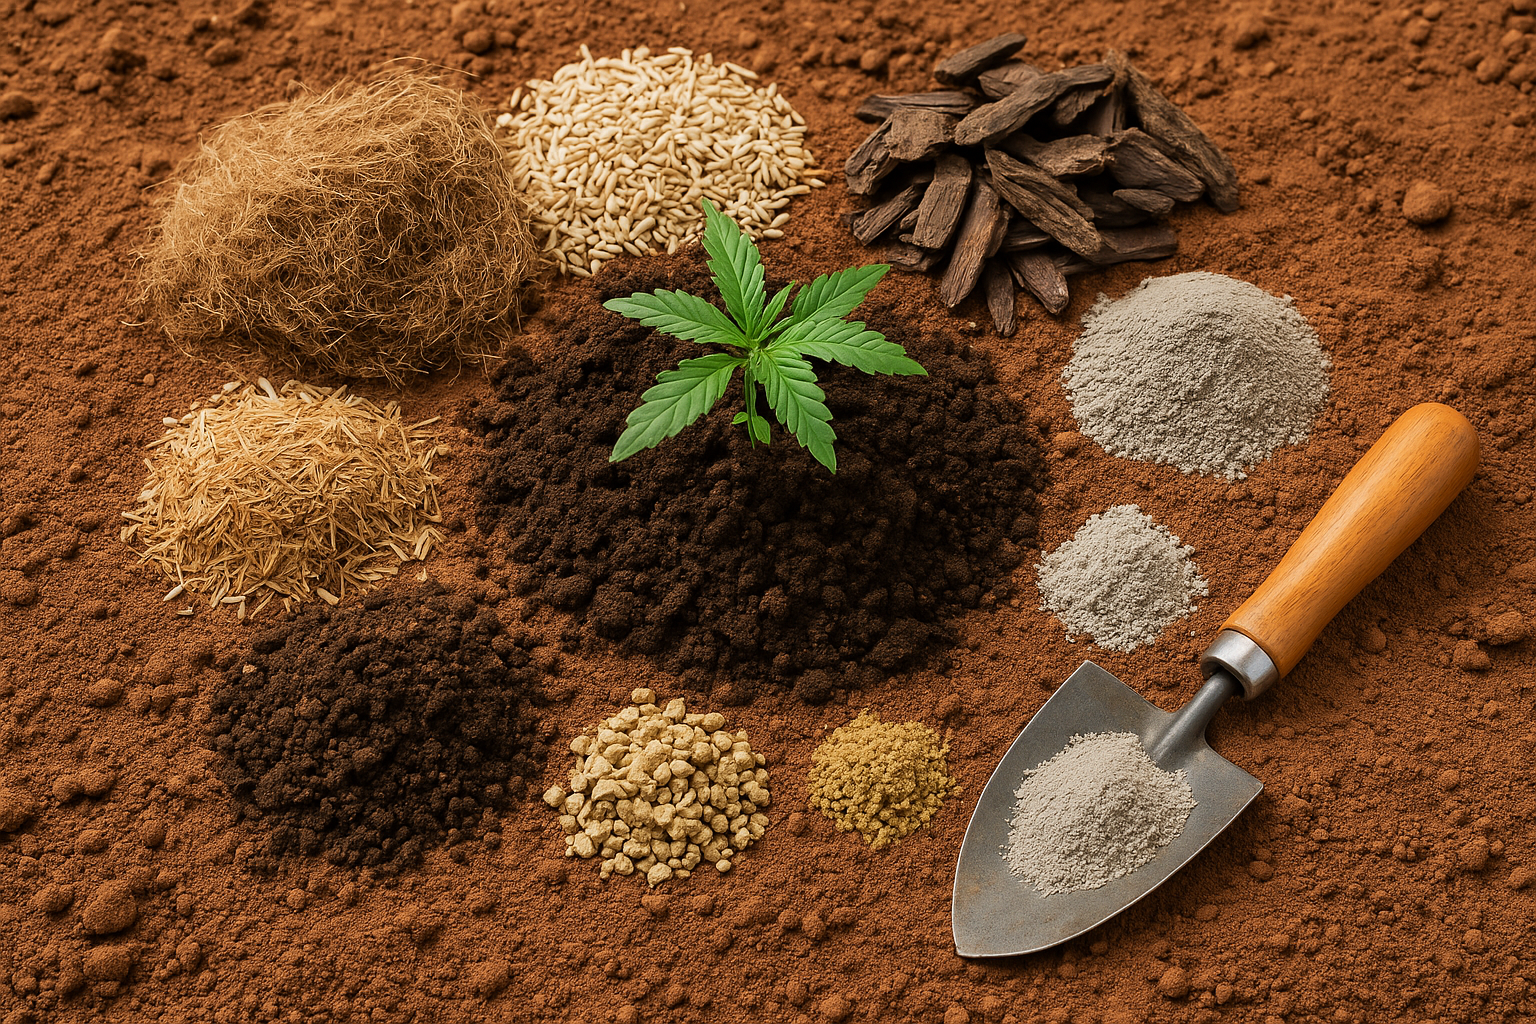
- Composted Wood Chips or Bark Fines: Create long-term structure and airflow.
- Rice Hulls: Lightweight and mold-resistant alternative to perlite.
- Coarse Sand (NOT Play Sand): Helps open up texture when mixed thoroughly.
How to Use:
For every square foot of grow space, add 2-3 inches of one or more aerators and mix deeply into the top 12 inches of clay.Step 2: Feed the Soil with Rich Organic Matter
Organic Matter That Works:
- Compost (Leaf or Mushroom-based): Made from natural plant-based materials.
- Aged Manure (cow, horse, or chicken): Adds nitrogen and texture.
- Coco Coir: Retains moisture without waterlogging, balances out density.
- Worm Castings: Microbial powerhouse that boosts root health and nutrient uptake.
Step 3: Fix the pH and Add Micronutrients
Virginia clay tends to be acidic. To create a balanced environment for cannabis (ideal pH: 6.0–6.8), add:- Dolomitic Lime: Neutralizes pH and adds calcium & magnesium.
- Rock Dust (Basalt or Azomite): Replenishes trace minerals that clay soils often lack.
How to Use:
Apply ½ to 1 cup of dolomitic lime per square yard. Follow package instructions for rock dust based on volume.Step 4: Supercharge with Living Soil Amendments
Once your clay is aerated and balanced, it’s time to make it alive.Add These:
- Mycorrhizal Fungi: Forms symbiotic root relationships for better nutrient absorption.
- Kelp Meal: Boosts root growth and resilience.
- Alfalfa Meal or Fish Bone Meal: Great for long-term, slow-release nitrogen and phosphorus.
Optional: Build a Raised Bed or Grow Mound
If your native clay is just too dense or soggy, consider building on top of it.- Raised beds or mounds filled with your custom soil blend improve drainage and make maintenance easier.
- Line the bottom with cardboard or burlap to suppress weeds and allow worms to move in over time.
Final Soil Recipe (Per Plant for In-Ground Grow)
- 1 part native red clay (broken up)
- 1 part compost
- 1 part aerator (rice hulls, bark fines, or coarse sand)
- ½ part coconut coir
- 1–2 cups worm castings
- ½ cup dolomitic lime
- ½ cup kelp meal
- ¼ cup rock dust
- Dusting of mycorrhizal fungi at transplant site
With a little effort and the right organic approach, Virginia’s clay-heavy soil doesn’t have to be a roadblock - it can become the foundation of a thriving, eco-friendly cannabis garden. By conditioning the soil naturally, you not only support stronger plants but also create a sustainable growing environment that improves with every season.
At HomeGrow Helpline, we're a local cannabis cultivation resource dedicated to helping Virginia homegrowers succeed - no matter the soil, space, or season. Call or text us today at (937) 476-1669.

.png)

Comments
Post a Comment